
How to Create Custom Skins in PUBG Mobile Like a Pro in 2026
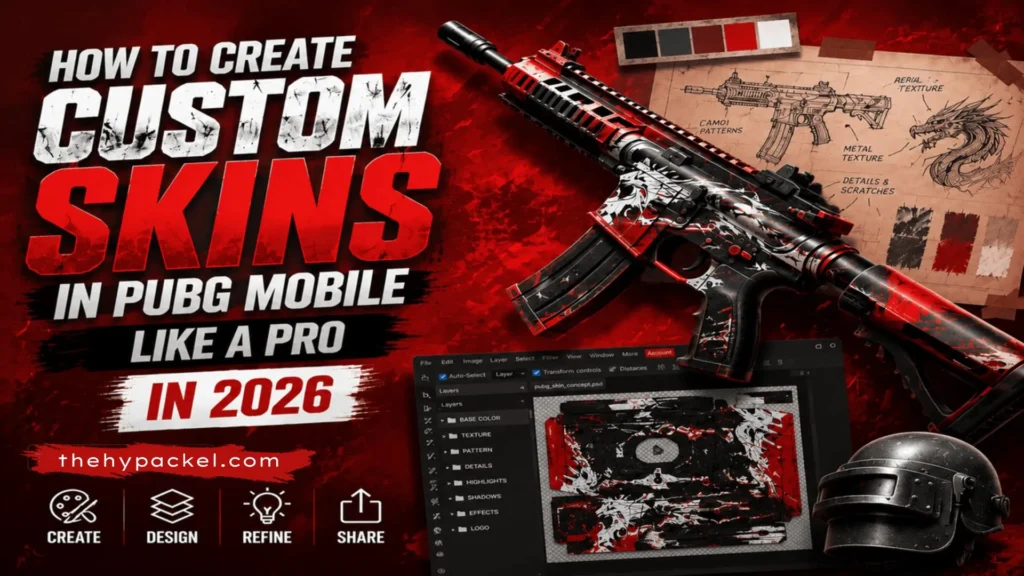
What if you could design PUBG Mobile weapon skins that look just as stunning as the ones used by top players? If you’ve searched for how to create custom skins in PUBG Mobile, you’ve probably run into the same wall we did: half the tutorials are outdated, and the other half quietly suggest modifying game files, which isn’t something we’ll ever recommend. This guide only covers design methods that stay fully compliant with PUBG’s Terms of Service.
Here’s the part that gets missed: you don’t need a design degree to create skin concepts that look professional. Below, we’ll walk through what’s actually possible in 2026, the tools real designers use (free and paid), a repeatable step-by-step process, and the mistakes that make beginner designs look amateur. By the end, you’ll have a clear process for building portfolio-ready PUBG Mobile skin concepts, the right way.
What Counts as a “Custom Skin” in PUBG?
Two very different things get lumped under this term, and mixing them up is where most beginners get in trouble.
Official skins are cosmetics designed and released by the developers, unlocked through in-game purchases, crates, or events. Fan-made skin concepts are original digital artwork inspired by the game, created outside of it, for portfolios, social media, or design contests. You’re creating your designs outside the game, not modifying anything within the PUBG game client.
This second category is what this guide covers, and it’s also the only version of “custom skins” that keeps your account safe.
Is This Actually Allowed?
Yes, with one clear boundary.
PUBG’s Terms of Service prohibit modifying game files, injecting textures, or replacing existing assets in the live client. That’s unauthorized modification, and it’s a bannable offense regardless of how good the skin looks.
What’s completely fine, and common in the community, is designing standalone concept art the same way fan artists do for movies or comics. You’re never touching PUBG’s installation files. If you ever see a tutorial promising to “install” a custom skin into your live game, that’s your signal to close the tab.
What You’ll Need to Get Started
Core skills:
- Basic color theory (so palettes look intentional, not random)
- Layer organization (so your file doesn’t turn into chaos by hour two)
- Texture blending (this is what separates flat designs from ones that look “real”)
Software (pick one to start, not all five):
- Photopea: free, browser-based, Photoshop-style interface, zero install.
- GIMP: free, more powerful but a steeper learning curve.
- Adobe Photoshop: the professional standard if you decide to go all-in.
- Blender: only needed if you want to explore 3D concepts later.
Worth bookmarking:
- Free texture packs (metal, camo, rust, fabric grain)
- A color palette generator (Coolors or similar)
- A folder of reference images, real weapons, military gear, or whatever theme you’re chasing
The Step-by-Step Process
1. Pick one item. Weapons like the M416, AKM, and AWM are often easier for beginners to design because their shapes are simpler, more structured, and easier to keep balanced compared to character outfits.
2. Collect references first, design second. Skip straight to opening your software, and you’ll end up guessing at proportions and colors. Spend 15–20 minutes pulling references before you touch a single tool.
3. Build a clean base template. Set your canvas size, then organize layers into folders (base color, texture, effects, highlights) before adding any actual design work. This alone saves hours later.
4. Design in layers, not all at once. Block in your primary colors first, then textures, then patterns, then lighting (highlights and shadows), then any extra effects like glow or grime. Trying to do all of this in one pass is the fastest way to end up with a muddy result.
5. Zoom in and refine. Check symmetry, clean up rough edges, and look at the design at 100% zoom, not just fit-to-screen. Most amateur mistakes only show up at full resolution.
6. Export properly. Keep a high-resolution master file (PNG, transparent background) for your portfolio, and a compressed JPEG version for quick sharing on social media or Discord.
Free vs. Paid Tools: Which One Do You Actually Need?
| Tool | Cost | Best For | Learning Curve |
| Photopea | Free | Beginners, browser-based work | Low |
| GIMP | Free | Intermediate users wanting more control | Medium |
| Krita | Free | Digital painting & texture work | Medium |
| Adobe Photoshop | Paid (subscription) | Professional-grade texturing | Medium |
| Substance 3D Painter | Paid | Realistic material rendering | High |
| Blender | Free | 3D skin concepts | High |
Our take: start with Photopea. It’s free, requires no download, and covers 90% of what you’ll need before you outgrow it and consider Photoshop.
Design Styles That Are Trending in 2026
- Military Camouflage: Always in demand, always feels “on-brand” for the game
- Neon Cyberpunk: Bold colors and glow effects that stand out in thumbnails
- Gold and Black Luxury: Signals rarity and status
- Ice and Frost: If you prefer clean visuals and cool color palettes, this style offers a polished look without being overly complex.
- Fire and Lava: Warm gradients that add motion and intensity
Pick one theme and commit to it. Designs that mix two or three unrelated themes are the most common way beginner work looks unfinished.
Mistakes That Make Skins Look Amateur
- Stacking too many visual effects instead of choosing one focal point
- Clashing color combinations picked without a palette reference
- Stretched or low-resolution textures that blur up close
- Flat lighting with no highlights or shadows
- Patterns that don’t wrap consistently around the object
- Directly copying an existing official skin instead of creating something original
Where AI Actually Helps (and Where It Doesn’t)
AI tools are genuinely useful for brainstorming, generating quick color palette ideas, and getting past creative block when you’re staring at a blank canvas. They’re not a shortcut to a finished product. AI-generated textures and concepts almost always need manual cleanup, resizing, and blending before they look like a cohesive, professional design. Treat it as a starting point, not the final file.
Showcasing Your Work
Once you’ve got a few solid designs, don’t let them sit on your hard drive:
- Reddit: PUBG-focused communities are active and give honest feedback
- Discord: Design-specific servers move fast and are great for networking
- A simple portfolio site: Even a free Behance page gives your work a permanent home
- Design competitions: Official and community-run contests are one of the few ways fan work gets real visibility
Frequently Asked Questions
Can I actually use custom skins in PUBG Mobile?
Not by modifying game files; that breaks the Terms of Service. You can create and share concept art inspired by the game without any issue.
Is designing PUBG skin concepts legal?
Yes, as long as it’s original fan art and not a modified or redistributed game file.
What’s the best software for a total beginner?
Photopea. It’s free, browser-based, and has zero setup time.
Can AI create PUBG-style skins on its own?
It can help with ideas and textures, but manual editing is still needed to get a professional result.
How long does one design actually take?
Anywhere from a few hours for a simple concept to a couple of days for something highly detailed. Speed comes with practice, not shortcuts.
Final Thoughts
Creating PUBG Mobile skin concepts is one of the more rewarding ways to combine gaming with real design skills, and you don’t need expensive software or years of training to start. Pick one weapon, one theme, and one free tool, then run through the process above. The designers making the most impressive work aren’t more talented than you; they’ve just done the reps.
If you’ve built a PUBG skin concept you’re proud of, or found a tool that works better than the ones we covered here, let us know; we’re always looking to feature what actually works.